MODULE
Modelling
Step 44
Press "E" to extrude them out. With the new edges selected, press "F" to fill the hole with a face. Do the same with the top two edges.
Step 44

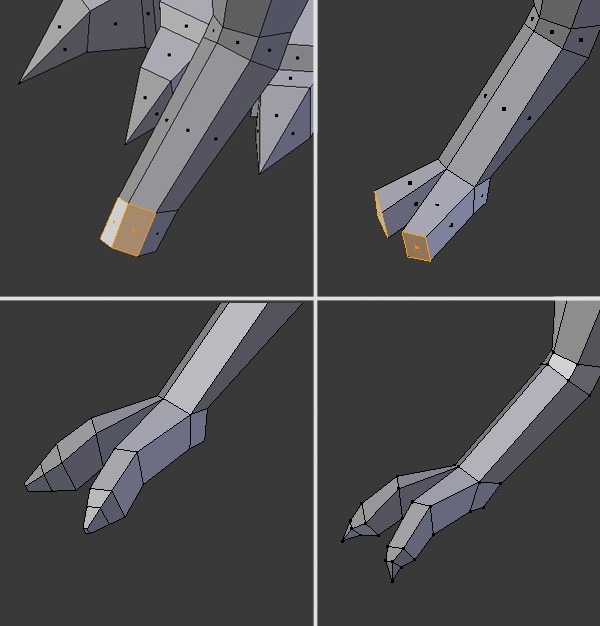
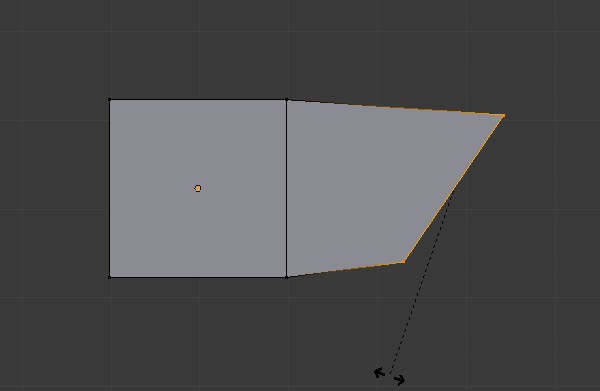
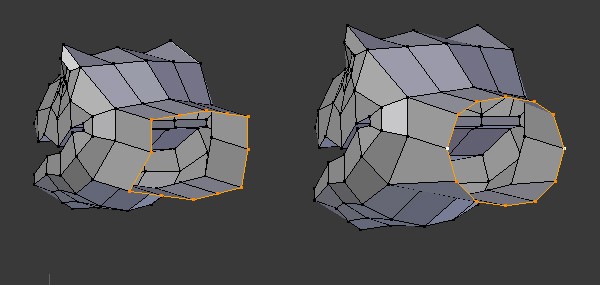
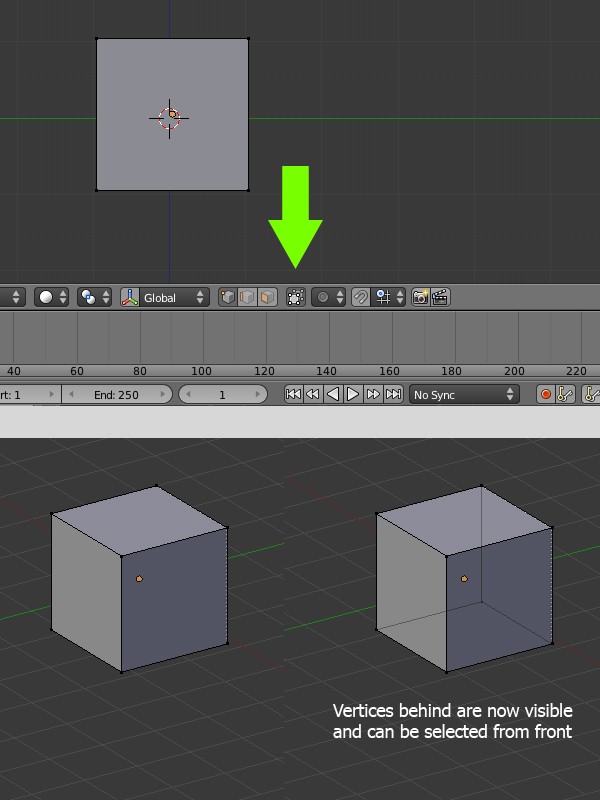
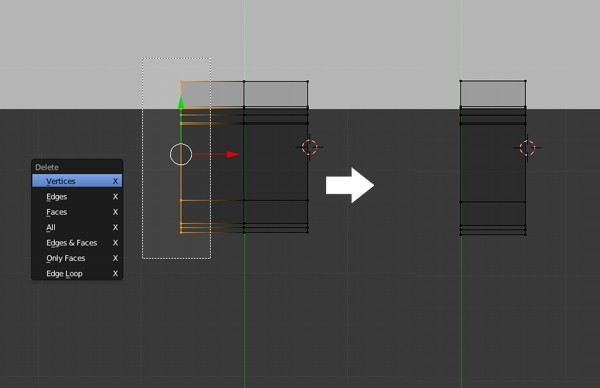
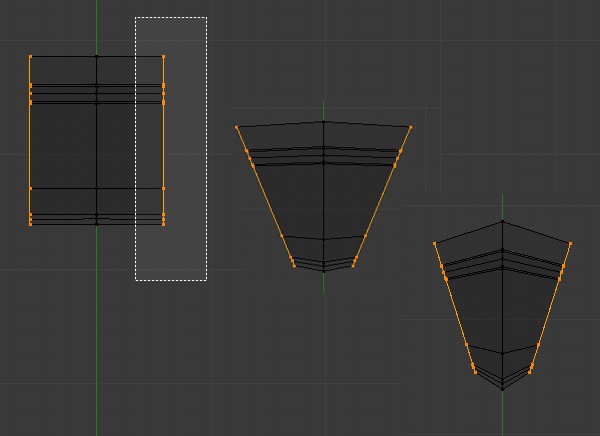
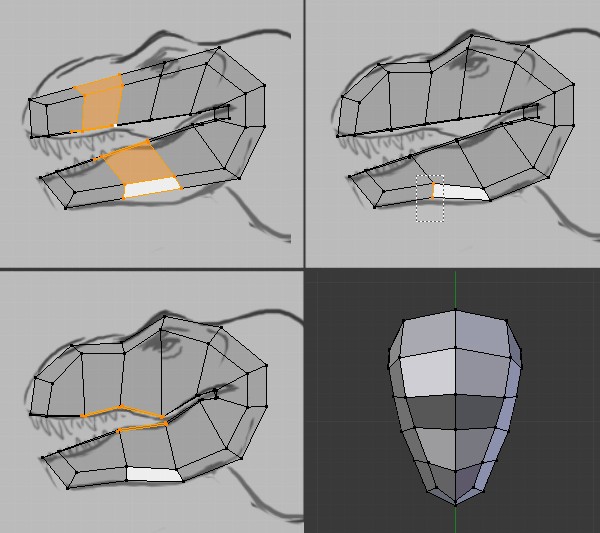
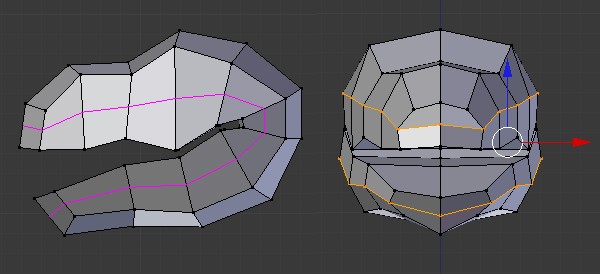
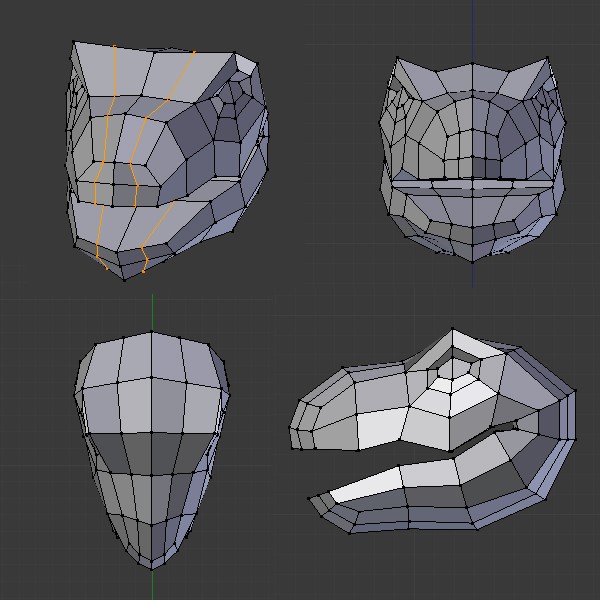
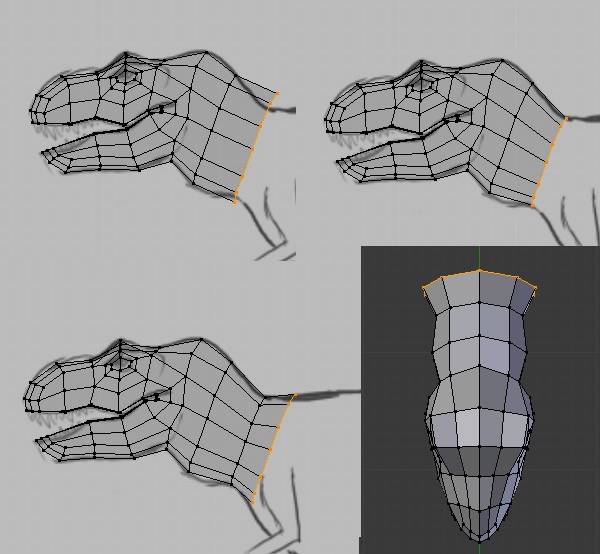
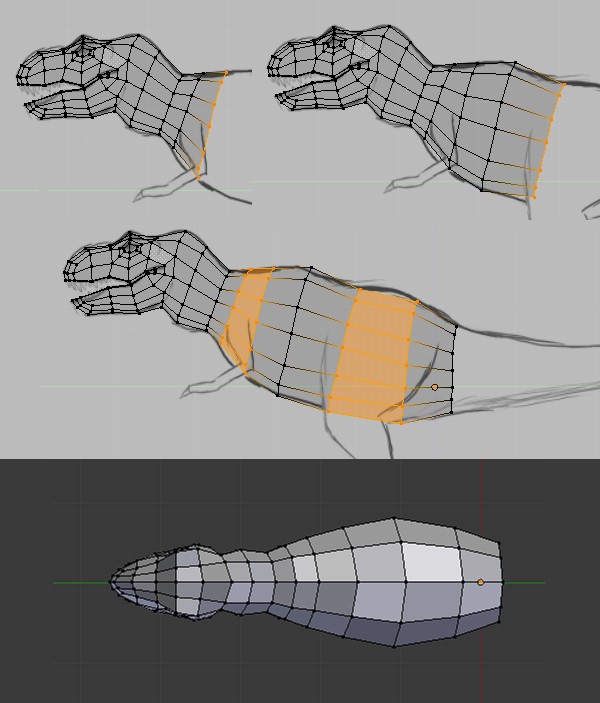
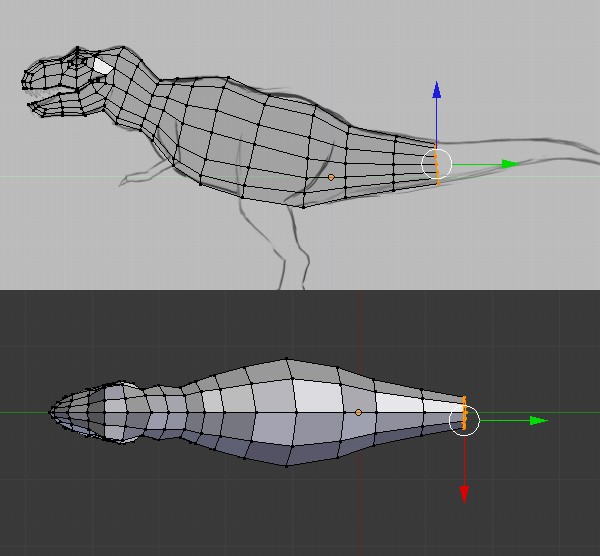
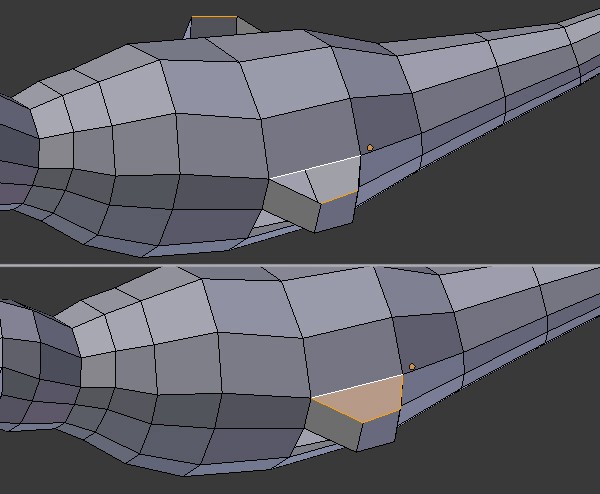
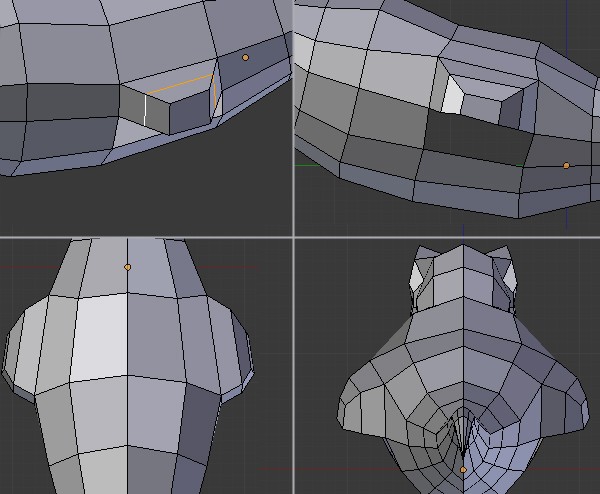
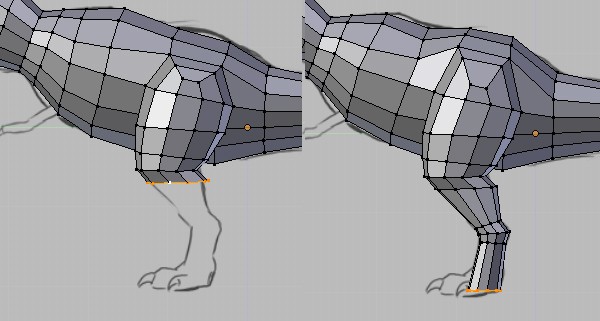
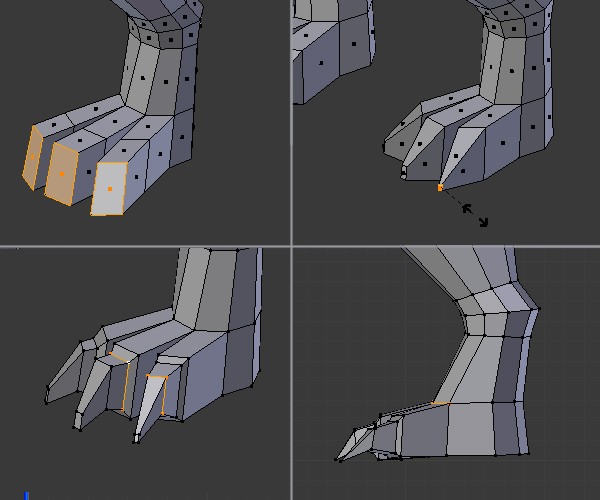
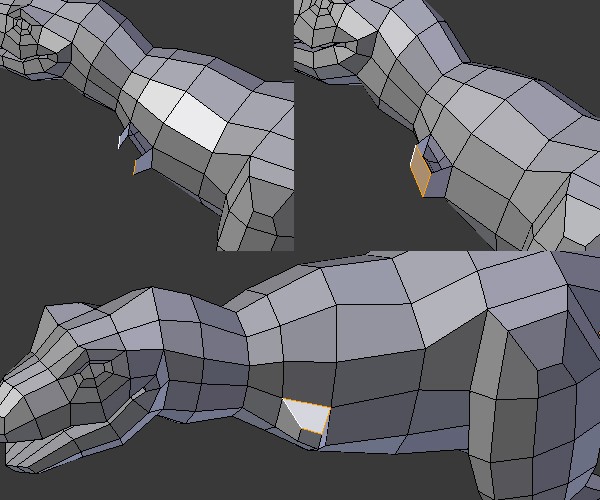
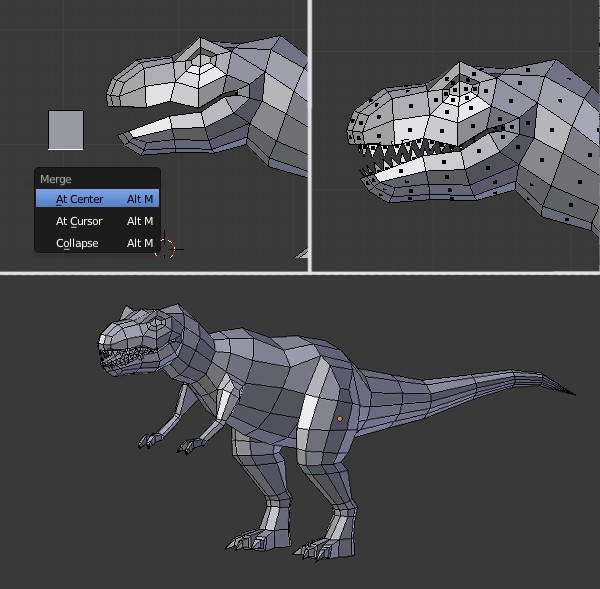
In this tutorial you’ll learn how to create an awesome low-poly dinosaur using Blender and Gimp. Artist Karan Shah will walk you through the entire modeling process step by step, and show you how to create an optimized model suitable for use in any game engine.

We'll follow up, delving into Uvmapping and creating unique hand painted textures in the next module. Though this tutorial is made using Blender, the modeling work-flow is universal in approach and can easily be applied to any other software. So get started!

In this tutorial you’ll learn how to create an awesome...
Step 42
Extrude one more time and Scale down the new faces. Insert edge loops and shape the toe (check from all views.) You can combine the tip face into one vertex using "Alt+M".
Step 42
Step 1
In a new file, select the default camera and lamp, and press "Del" to delete them, leaving only the cube. Press "3" on the Numpad to get a Right Side View, and switch to "Ortho" view by pressing "5" key on the Numpad.
Step 1
Step 2
Select the Cube by Right Clicking on it, and hit 'Tab' to enter into "Edit" mode. Also turn off "Visible Selection" so we can select the vertices hiding behind the front ones.
Step 2
Step 3
In the right view press the "B" key and drag select the last 4 vertices. The ones behind will also get selected as we have turned off the "limit selection to visible" mode.
Step 3
Step 4
Press "E" to Extrude, move your mouse right a little bit and Left Click to confirm.
Step 4
Step 43
Select the faces where the arms will start and delete them. And then select the corner two edges as shown.
Step 43
Step 5
With the new vertices selected, Press "R" to Rotate, and Move the mouse to rotate them around 45 degrees, like in the image. Left click to confirm.
Step 5
Step 6
Push them down a little bit. Press "G" to move them, and Move the mouse down and left click to confirm.
Step 6
Step 7
Now Extrude again, and then Rotate and Move the vertices as shown in the image.
Step 7
Step 8
Extrude again to form a "C" shape. Then select and move the corner vertices to give it roundness.
Step 8
Step 9
We can now add the background image for reference. With the mouse over the 3D view, Press "N" to bring out the properties panel. Click on the checkbox of the "Background images" panel and the open the reference image. Adjust the transparency and scale to your comfort.
Step 9
Step 10
Press "N" again to hide the properties panel (you can also press "T" to hide the Toolbars panel.) While in "Edit" mode, select all the vertices and move them over the head area. Press "Z" to toggle the view mode to wireframe, so that we can see the reference behind the object.
Step 10
Step 17
Press "1" on the Numpad to enter the Front view, and then adjust the top side row of vertices (you can select a loop of vertices with alt+Right click.) Push them inwards, you can also turn on/off wireframe mode with the "Z" key. You can also switch on the "selection to visible".
Step 17
Step 11
In Edit mode, move the vertices to create the shape of the head (as shown.) And then Save the file by pressing "Ctrl+S" or "Ctrl+W".
Step 11
Step 45
Insert a new loop and tweak it to create a nice round shape.
Step 45
Step 12
Press "7" on the Numpad to get into the Top view. Move your mouse near the center of the mesh and press "Ctrl+R" and Left Click to confirm. This will give us a center seam on the body.
Step 12
Step 13
Select all the vertices by pressing "A" and then scale them along the X axis by pressing "S" and then the "X" key. Click with the Left mouse button to confirm.
Step 13
Step 14
Deselect all by pressing the "A" key. Now press "B" to drag select all the left vertices, and press 'del' to delete them.
Step 14
Step 15
Click on the "Object Modifiers" Button in the property toolbar, and then add the "Mirror" Modifier. Turn on "Clipping" and "Editing Cage". Any editing done on one side will now automatically be mirrored to the other, so we don't have to model twice. Turning on clipping will keep the center loop of vertices intact.
Step 15
Step 16
Select the side row of vertices, and then rotate and scale them down (as shown.)
Step 16
Step 18
Switch back to the Side view by pressing "3" of the Numpad. Move your mouse over the mesh and create an Edge loop over the eye, by pressing "Ctrl+R". Once the Magenta mark for the loop is in the desired place, left click to confirm and then adjust its place by moving the mouse. Left click again to confirm.
Step 18
Step 19
Add more edge loops (vertically) and continue to shape the head by tweaking the vertices. Verify the shape by checking the model from all views.
Step 19
Step 20
Now in the Side view, Press "Ctrl+R" again to add one more edge loop (this time horizontally) and Left click to confirm. Adjust them and pull them out a bit.
Step 20
Step 21
Select the vertices running across the eye and move them as shown in the image. And then Click on the "Face" select mode.
Step 21
Step 22
Select the two faces shown below. This area will hold the eye loop. Press "E" to extrude the faces, but do not move the mouse and left click. Instead "RIGHT-Click" to leave the extruded faces where they are (we don't want to move the new ones.) With the new faces already selected, press "S" and scale them down to form the eye.
Step 22
Step 23
Add another loop running around the eye. Tweak the vertices to give them a good eye shape and the loop around it. You can switch between "Face" select mode and "Vertex" select mode for editing. Again check the model from all angles.
Step 23
Step 24
Add another Edge Loop near the center of the head. Tweak the vertices to bring out the eye loop, and give more roundness and shape overall.
Step 24
Step 25
Select these two vertices at the back, and delete them.
Step 25
Step 26
Select the edge loop with Alt+Right Click, and in the side view Extrude them with the "E" key. With the new vertices selected, press "S" and then "Y" to scale them along the Y axis or in short, to align them in a line.
Step 26
Step 27
Adjust the vertices to create a nice round shape.
Step 27
Step 28
Scale the vertices only on the Z axis, and tweak them to match the reference.
Step 28
Step 29
Extrude the loop of vertices, and Scale and Rotate them to match the reference. Extrude a few more times to form the neck. Tweak the loops from all angles.
Step 29
Step 30
Now using the same method construct the rest of the body. Extrude, Rotate and Scale the vertical loops as you go, and check from the Top view as well. Adjust the vertices to give the body a nice shape. I have kept the loops marked below in mind while constructing, for the limbs to come out of.
Step 30
Step 31
Now extrude the tail, matching the reference. You might need to move the vertices close together in the Top view, but do not move them too close or they will stick as we have "Clipping" on in the mirror modifier settings.
Step 31
Step 32
Complete the tail, leaving the last point.
Step 32
Step 33
Select the last loop and press "Alt+M" and click on "Center" to merge all the vertices into one. In the Top view, move the vertices towards the center and they will snap. And now you will have the body ready!
Step 33
Step 34
Select and delete this edge
Step 34
Step 35
With "Edge" select mode, select the two corner edges shown below and extrude them.
Step 35
Step 36
Move the edges closer together and press "F" to create a face between them.
Step 36
Step 37
Select the top two edges and press "F" to make a face.
Step 37
Step 38
Create an edge loop with "CTRL+R" and tweak the points to give it roundness.
Step 38
Step 39
Select the edge loop with "ALT+Right Click" and Extrude. Tweak the points from all angles to give roundness.
Step 39
Step 40
Complete the leg using the same Extrude, Rotate and Scale method. Check from the front as well. Aim to have three rows of vertices running around the joints (as shown.)
Step 40
Step 41
Now create an Edge loop just above the toe, and select the front three faces. Press "ALT+E", select "Individual Faces" and pull out the toes.
Step 41
Step 46
Select the last loop and extrude it to bring out the arm.
Step 46
Step 47
Extrude, Rotate and Scale the loops to complete the arm (as shown below.)
Step 47
Step 48
Select the front two faces and extrude them out. Insert new edge loops and tweak them to give shape to the toes.
Step 48
Step 49
Select the bottom edges (two at a time) and press "F" to fill. Also do the same for the bottom of the foot.
Step 49
Step 50
To add teeth, create a new Plane, press "Shift+A" and click on the Plane. Select the bottom two vertices and press "Alt+M" to merge them. Place the triangle inside the mouth, you can press "SHIFT+D" to make duplicates, then align them to create the desired effect. Remember to check from all angles. Your Low Poly T-Rex is ready!
Step 50
Next: Modelling - Part 2